
 The image is a painting that I found recently in the dark corners of my attic. It is of tiger lily flowers and done by my mother in high school. When I saw it I was struck by the synchronicity of the subject matter because I recently launched my website with a name that was inspired by a photo of me as a 4 year old in Kansas posed behind a patch of orange tiger lily flowers. And then, several decades later, I come across this jewel in the attic with tiger lilies. Amazing.
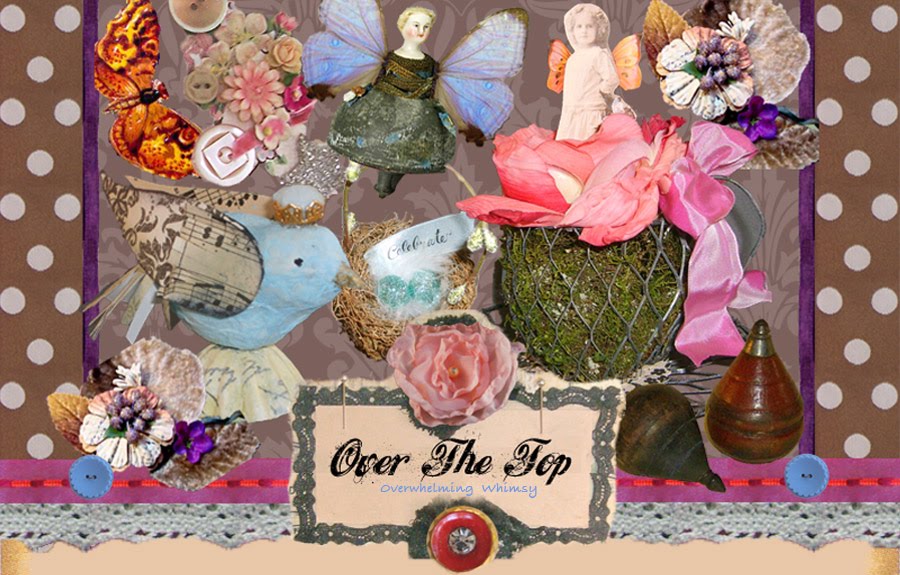
I am pleased to announce my new website at http://www.tigerlilysattic.com which is a showcase for my services and products. My "Over the Top" blog is continuing, but will now be located at the website http://tigerlilysattic.com/over-the-top. This will be my last posting here at blogspot and I look forward to hearing your comments in the future in the new location.I appreciate your support and interest in seeing what's over the top ! Thank you.
Saturday, February 25, 2012
Blog is Moving!
Thursday, January 19, 2012
Christmas 2011 and Snow in the New Year


 Here are some photos of the Christmas decorations that were enjoyed during the holidays. I am totally enamored with vintage pieces with snowy trees and snowflakes playing a big part in the decorations. The glass gazebo is up year-round so it gets filled with bristle trees during Christmas. My beloved silver tinsel tree has small rice lights on it which are set to gently twinkle. Mercury balls, vintage snowflakes, and a bird collections are highlighted. The WISH ornament is from a friend who is a soldering master. My daughter started presenting a pair of matching birds to my late husband and I three years ago and now in his absence, she is continuing the tradition. Those special birds are proudly displayed on the tree as well.
 The Puget Sound region was beautifully blanketed with snow the week of Jan 16. Some areas received over a foot of snow. On Bainbridge Island there was about 4-5" which made our property look simply wonderful. We named the acreage Fernwood due to the hundreds of native sword ferns which abound. The sign was designed by my architect/artist son, Brandon, and is placed at the entrance to the property. Moving the extremely heavy rock down the 600' driveway was a challenge, not to mention setting it in place. Fernwood Studio is the name given to my place where I teach craft classes. Please see my website, www.tigerlilysattic.com for more information.
Part of the landscape includes a copper gazebo with a granite bench. The gazebo was made by my husband for our wedding ceremony. Muslin curtins are hung on it during the summer and as you can see, they were never taken down, along with the candles and chandelier which is off-camera. The scene reminded me of the winter palace in the movie, Dr. Zhivago. I loved that movie. When I saw it in high school and loved the daffodil scene I knew someday if I ever had a girl, she would be named Lara. Life has been good and Lara is wonderfully in my life.
The lady statue always looks great with her snowy white hat and fur wrap. She has a collection of sea shells at her feet that I collected from a beach in Florida. Her basket of snow flowers completes her look!
Saturday, January 14, 2012
No Fuss Quickie Floral Arrangement


 This is the hostess bouquet I took to my daughter when we visited her family for Christmas day.
Believe it or not, I put it together as we were loading the car. To my critical and trained-eye, there was room for improvement, but I offer it up as an example of how easy it is to do it and have reasonable results. In my previous post, I described "guerrilla decorating" and this post falls under the same category.
I had purchased the red roses and white daisy mums from the local grocery store and with the wreath work I do, the evergreen boughs were already standing by. I used noble fir for form and stability and cedar for softness and drape. The fir went in first, followed by the cedar. Next the mums were cut to size. If you are not sure where to cut the stem, place it in front of the vase where you want the stem to be placed and you will readily see where to make the cut. But just like in soup preparation, start with just a little bit of salt (a little cut) and do more as needed.
The mums were placed evenly around, some cut shorter then others for mixed heights. The mums were put in before the roses, as they were larger and would carry the load of the arrangement. Then the roses were cut to size and placed evenly around, some shorter than others. I don't usually use use baby's breath in arrangements, but this time it would have been nice as it would have added a "snowy" effect. Red glass ball ornaments affixed with twist ties to chopsticks or bamboo skewers would have added a festive touch. If I had had a few more minutes, I probably would have included them.
There is no reason to make things any more complicated than they need to be. If you what you design with a bit of abandon and "it doesn't matter" attitude, you will find yourself having fun and the results will show it. This is about enjoyment, not agony. Have fun!
Quick and Easy Holiday Decorating 101


 I love to decorate and present beautiful spaces in my home during the holidays. This year found me with little to no time to fully engage in decorating. With three jobs and the on-going development of my my upcoming web site, I had to employ guerrilla warfare and whiz-bang the house with pretties. It became "drive-by decorating" and actually turned out well.
The photos show some of the decorating"quickies." The side board had a runner from TJ Maxx that featured quilted velvet squares in jewel tones-which was my color palette this year. So having chosen the color, I selected the theme of fruit. So I gathered all the "sugar-dusted" faux fruit I've collected, with an emphasis on pomegranates (juicy and red!). I placed some fruit in two clear glass containers and put more in the repurposed lampbase with glass fixture I made last summer. To bring it together, I placed a small red sugared berried wreath at the base with a small fruited garland.
The dining table centerpiece was completed in less than ten minutes. I took a faux green wreath (about 18"), placed it flat on the table (yes, wreaths don't always have to go on the walls) and studded it evenly with sugared fruit picks (found at Michael's and JoAnn Etc. for a song). No need to glue as I don't have high winds or boisterous children/teenagers living at home. Then to add a different texture for emphasis, I tucked in small jewel-tone glass ball ornaments. The glass mosaic vase with candle placed inside was the finishing touch. Using the fruit on the dining table and nearby sideboard made for a oordinated look and both were completed in less than one hour..... next!
The arrangement in the hall corner went even faster. The large ceramic planter was already in place (has been waiting to be turned into a water feature). Out of storage, I grabbed the 3' tall red velvet tree (found at a garage sale) and generously placed faux evergreen boughs at the base. I then tucked stems of red silk poinsettias and peonies into the boughs. For sparkle, I added some lime green glittered picks. Again, no glue, no foam blocks.....just place and push.
Decorating on the fly is perfectly fine and it works. Yes, there are times when thoughtful consideration is in order, but one happily finds that the end results speak for themselves and
look just as wonderful. Yes, I will admit I have many of the pieces to pull together but with a little imagination and creatively looking at what one already has, vignettes and color palettes can be easily and quickly pulled together. We need to give ourselves permission to think simply and to ask the question, "how else can this be done?" It can be a great deal of fun and bring tremendous satisfaction. Try it.
Some tablescapes I have created can be found on my website: www.tigerlilysattic.com.
Friday, January 13, 2012
Evergreen Wreath Making Tutorial


 The photos demonstrate the simple steps to making a wreath using a "machine." I hesitate to use the word, machine, as it implies the use of electricity which this does not use. This machine uses a foot pedal which makes the clamp squeeze the wire prongs on the wreath form. The machine is almost "goof proof" and enables even a beginner to easily and quickly make a practically perfect professional looking wreath.
I cut the greens into 10" lengths and layer them in each prong to make an attractive bunch.
Then I step on the pedal to squeeze the two prongs together, capturing the greens in a tight bundle. The wreath form is then moved to the next open prong so when that bunch is clamped, it covers the wires from the previous bunch. And so it goes, all the way around the ring. The wreath shown started as a 12" ring but finishes at about 20-22" in diameter.
I collect evergreen boughs from my property on Bainbridge Island in the Puget Sound and also purchase noble fir boughs from a local tree farm. Noble fir is good to use as the blue-gray color is gorgeous but the needles are firm and upright. I usually work with the following evergreens: noble fir, Douglas fir, cedar, juniper, cypress,pine, and arborvitae. I also incorporate the stems from deciduous shrubs/trees such as huckleberry, red twig dogwood, birch and will purchase blue juniper berried branches from a florist supply house. Evergreen shrubs such as sarcococca, huckleberry, eounymous, boxwood,and rosemary will often appear as well.
Embellishments in the form of nuts, pods, cinammon sticks, berries, various cones, and gorgeous ribbon will be added appropriately to echo the front door and interior home decor.
I make wreaths to order and also make my two machines available for folks to come and make their own wreath. I provide some of the greens, along with the embellishments.
Once I made a custom wreath made entirely of bearded wheat stalks and another one made up of just blueberry stems. Any product that can be dried or hold-up for a reasonable amount of time can be used. I show some of my wreaths on my website: www.tigerlilysattic.com.
Monday, December 12, 2011
Holiday Arts and Crafts Show


 These are some images from a recent holiday arts and crafts show I participated in. It has been going for over 25 years on Bainbridge Island, WA and is called Christmas in the Country. Over 9 venues open up with an average of 13 artisans in each site. I feature vintage inspired ornaments and this year I introduced my line of reconstructed and up-cycled tops and the "collage-style" necklaces. A future post will show examples of each of those lines.
One of the amazing things that happened was to be able to use a large sized oil painting I had serendipitously found about 2 years ago. It has been sitting in the garage and made its debut for the show. It wonderfully camouflaged a bulletin board that could not be removed. So it leaned against the wall on top of the table and blended perfectly into the display.
The color scheme was dusty pink, black, and ivory. I find fabrics and curtin panels at flea markets and lavishly layer them on table tops. Cupcake towers and faux trees (including my cherished tinsel tree) were appropriate props and display pieces. I also used large vintage frames with chicken wire glued inside to hang ornaments on along with white-washed pedestals created with trimmed metal flashing and stair rail posts.
Vintage inspired snowpeople, vintage glass glittered trees, sparkly snowflakes, dazzling acorns, jazzy- edged butterflies on clips, delicate and intricate paper shows fit for Cinderella, nested birds amongst matte glass ornaments, and wreaths made with flowers cut from French dictionary pages were just a few of the ornaments and holiday decorations that were featured.
Decorative Wooden Clothes Hangers


The wooden hangers were stained and then lightly sanded. With rubber letter stamps, selected French sayings were added....accuracy wasn't necessarily the rule. I chose some phrases that caught my eye: femme fatale, tete-a-tete, mon tresor, bon vivant, c'est bon, and c'est la vie to name a few. Then beautiful sumptuous French moire wired ribbon single loop bows were added to the hanger. The ribbons are the real deal from France and I so appreciate their packaging by being protected with a paper backing. And of course, flowers had to be added. Vintage millinery flowers were the perfect touch. The photo doesn't show the last thing to be added which were pearls glued to the ends to keep the straps from slipping off the wooden clothes hanger.
These decorative wooden clothes hangers were made specifically to display the up-cycled, reconstructed garments I make. A future posting will show some examples of the clothes.